
Principal Architect
With over 30 years of industry experience, Neil has designed, developed, debugged, and supported software systems for numerous customers large and small. Initially, a C and assembler programmer, most of the last 20 years have been Java-based, with a focus on distributed systems, data grids, and stream processing. Neil is an occasional committer to the Hazelcast code base, with special interest on GoLang.
View all blogs by the authorOct 13, 2016
Spring Boot: Hazelcast for Session Replication (Old Version)
NOTE: This is an older version of an updated blog. This article contains outdated information.
In an earlier blog post, Caching Made Bootiful: The Hazelcast Way, Hazelcast’s Viktor Gamov demonstrated the ease of doing caching with Hazelcast in Spring.
In this post, we’ll continue the theme to show how trivial session clustering is to implement from a coding perspective but also how this can radically change the application architecture for the web tier.
It’s going to help if know a little about Spring, and better still if you’ve read Viktor’s post recently. Maven is assumed, but if you’re a Gradle person you can likely figure it out.
Introduction
The problem we’re looking to solve here is around insulating HTTP Sessions from loss.
When you log into a Java based web application, this creates a session object to hold the state of that login. For as long as session object exists the user is considered to be logged in, until the session is removed as a result of a logout action or until the session is discarded for having been idle for too long.
The session object contains a few standard fields such as the session id, the creation time, and the last access time. Plus it can be extended to hold other data such as “add to basket” style operations for online shopping, to temporarily reserve things until an order is placed.
So, the HTTP Session underpins the user experience of being logged in, and revenue that they generate while logged in.
Because of this, you need to protect the HTTP Session from being lost, due to a hardware fault for example. The rest of this post will show you how to do this, using follow-along sample code on Github, as springboot-http.
With Spring, without XML
Intentionally the application here is minimal, as it’s trying to demonstrate the concepts rather than the detail. Spring does most of the framework, and in this example there isn’t really any business logic.
You don’t need Spring here, that’s just the approach taken. Other frameworks exist, or you can write the code yourself, but you might end up writing a lot of code.
Anyway, what we have is an application built from 5 files, so let’s take a quick look at each:
The files
Application.java
This file contains a true/false flag that dictates how the application behaves, and the main() method that is the entry point for code execution.
HazelcastConfiguration.java
Activates or deactivates Hazelcast, dependent on the true/false flag in Application.java.
WebController.java
The processing part of the MVC paradigm, taking HTTP requests and determining the response to give.
Application.yaml
Holds the configuration properties for the application.
index.html
The template for the one and only web page that the application displays.
Building
Use mvn package to build, as the Spring Boot build plug-in is triggered by this Maven phase.
What this builds is an executable Jar file, containing both the web application and the Tomcat instance that it runs in. This is a different approach than you may have previously seen, where Tomcat is existing and separate, and the applications are deployed into it as War files.
A Jar is built instead of a War to keep things simple and self-contained. You could do it as a War file if that’s your preference.
No web.xml or hazelcast.xml
Another thing to mention here is the application contains no XML files.
This is both a development preference and it keeps the application smaller.
Test 1 – Without Hazelcast
For the first test, make sure that Hazelcast is de-activated, so Application.java file has this:
public static final String USE_HAZELCAST = "false";
Although the application will contain the HazelcastConfiguration.java class, the top lines
@Configuration
    @ConditionalOnExpression(Application.USE_HAZELCAST)
    public class HazelcastConfiguration {
direct Spring to ignore the content if the flag is set to false.
Use mvn package to build.
In these tests, don’t close your browser window between steps so that the session remains alive as far as the browser is concerned.
Test 1 Step 1
Run the command java -jar target/springboot-http-0.1-SNAPSHOT.jar from two different command windows.
What you should expect to see from each is several lines of log output, ending with something like:
s.b.c.e.t.TomcatEmbeddedServletContainer : Tomcat started on port(s): 50198 (http)
    c.hazelcast.springboot.http.Application  : Started Application in 8.363 seconds (JVM running for 8.948)
and from the other window
s.b.c.e.t.TomcatEmbeddedServletContainer : Tomcat started on port(s): 50199 (http)
    c.hazelcast.springboot.http.Application  : Started Application in 7.638 seconds (JVM running for 8.831)
In this case, the log tells us that one of the Tomcat instances is using port 50198 and the second 50199. The application configuration (in application.yaml) directs the Tomcat instance to pick any available port rather than the usual port 8080.
This is necessary here as we want to run two Tomcat instances, and if they run on the same machine they can’t both use 8080.
Test 1 Step 2
In a browser window, navigate to URL for one of the Tomcat instances ; making the address from ‘localhost’ and the port that Tomcat is listening on from step 1. For instance, http://localhost:50198.
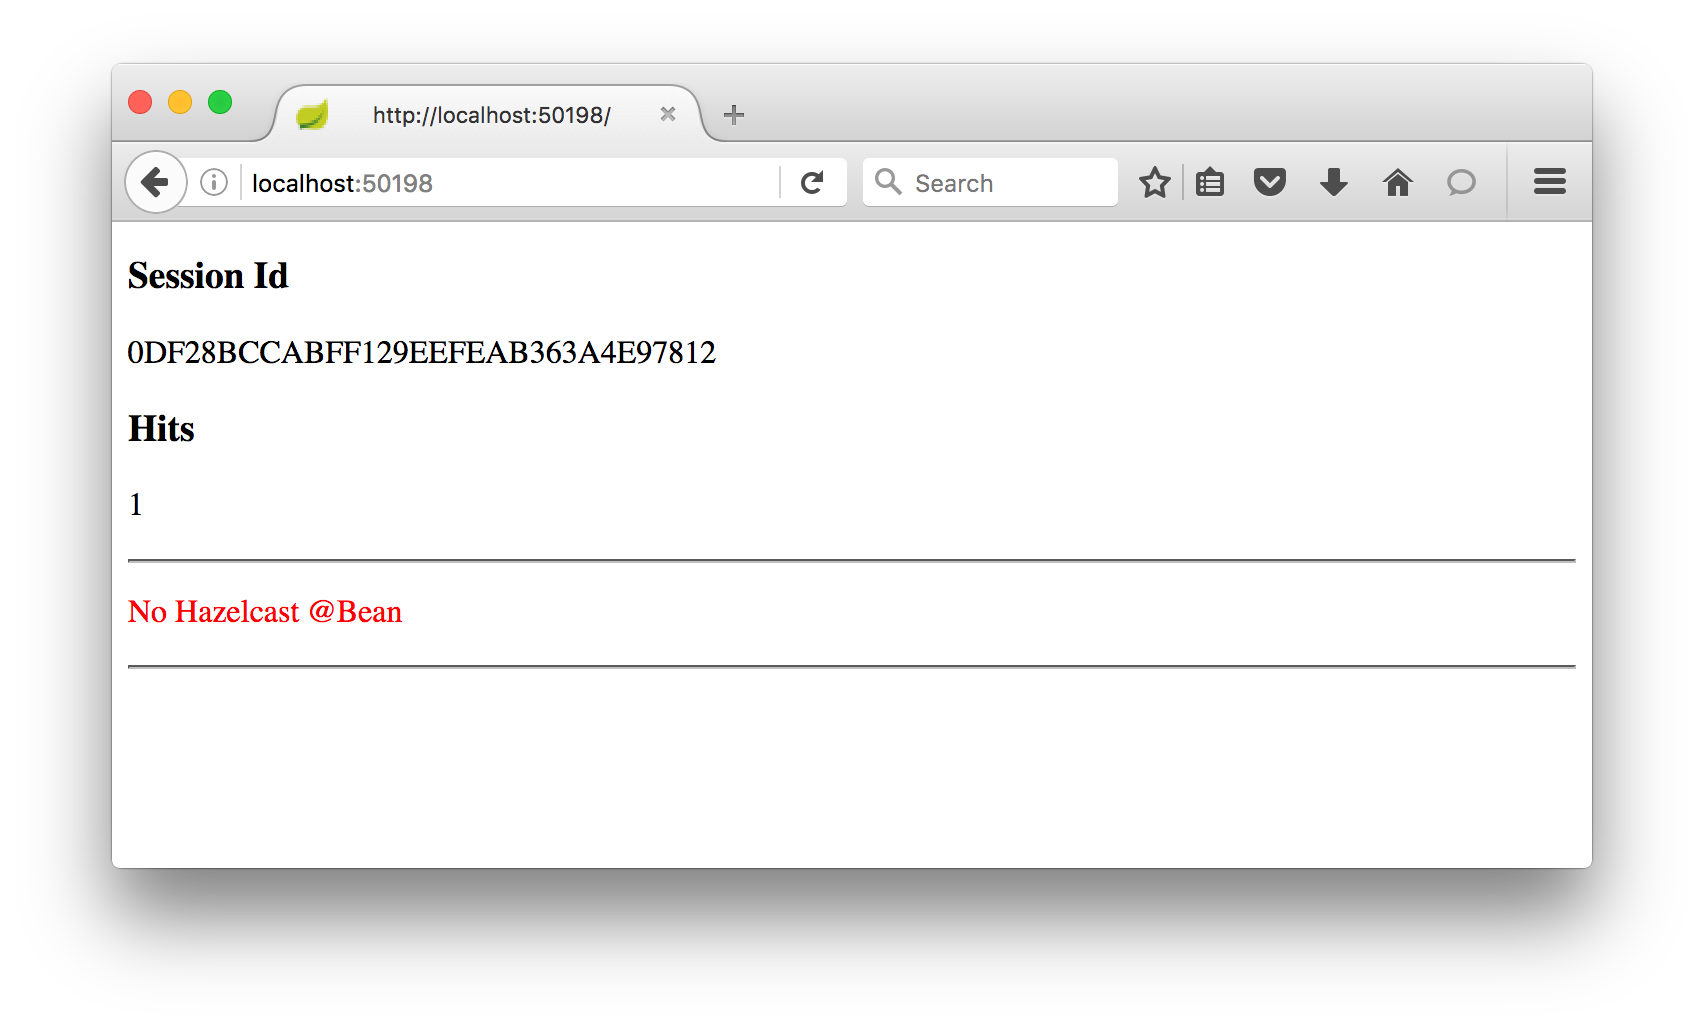
The first time the page is shown you should see something like this showing the session id and hit counter,
and matching output in the shell window from the WebController class.
c.h.springboot.http.WebController : index() called, hits was 'null', session id '0DF28BCCABFF129EEFEAB363A4E97812'
Refresh the page a few times and the hit counter goes up in the logs
c.h.springboot.http.WebController        : index() called, hits was '1', session id '0DF28BCCABFF129EEFEAB363A4E97812'
    c.h.springboot.http.WebController        : index() called, hits was '2', session id '0DF28BCCABFF129EEFEAB363A4E97812'
    c.h.springboot.http.WebController        : index() called, hits was '3', session id '0DF28BCCABFF129EEFEAB363A4E97812'
and on screen:

Test 1 Step 3
Kill off the Java process from step 2, and refresh the web page. Unsurprisingly there is now no response.

Test 1 Step 4
Now change the URL to have the port of the other Tomcat instance started, the one that is still running. In this example, this changes the port from 50198 to 50199, so the new URL would be http:localhost:50199
Now there is a response, but a new session has been created and the hit counter has gone back to 1. You can tell this by the session id changing from that in Test 1 Step 1.

You should stop the other Tomcat now.
Test 1 Recap
What this has demonstrated is what happens without session clustering.
Everything works fine until a Tomcat instance goes offline, then the user has to begin again from the beginning with whatever they were doing.
Test 2 – With Hazelcast
For the second test, edit Application.java so it has this:
public static final String USE_HAZELCAST = "true";
And run mvn package to build.
Remember again in these test steps not to close the browser window until the very end.
Test 2 Step 1
Run the command java -jar target/springboot-http-0.1-SNAPSHOT.jar from two different command windows.
This time there should be more log output, as there is also Hazelcast. Somewhere in the log output you should see output like this, to confirm the two processes have found each other and formed a cluster of two:
Members [2] {
        Member [127.0.0.1]:5701 - c667d905-3e3c-4cb5-925e-1909b51ba4ab this
        Member [127.0.0.1]:5702 - dc459525-7ec1-4413-96f2-890e01ed557f
    }
And again, towards the end of the log output you’ll see which port each Tomcat instance is using.
s.b.c.e.t.TomcatEmbeddedServletContainer : Tomcat started on port(s): 50219 (http)
and
s.b.c.e.t.TomcatEmbeddedServletContainer : Tomcat started on port(s): 50223 (http)
So here the first process has port 5701 for Hazelcast and 50219 for Tomcat. The second has 5702 for Hazelcast and 50223 for Tomcat.
Test 2 Step 2
In a browser, navigate to the URL for first of the Java processes, in this case for Tomcat port 50219 it would be http://localhost:50219.

As before you see the session id and the hit counter. Now, there is also a report on which Hazelcast cluster process you are using, the one on Hazelcast port 5701.
Test 2 Step 3
In the browser, change the URL to the port of the other Tomcat instance, here this is port 50223.

Again the hit counter advances by one to 2, but now the cluster member is different.
Test 2 Step 4
Change the URL back to that from Test 2 Step 2, and refresh the page once more.
The hit counter goes up by one to 3, but now the cluster member is Hazelcast port 5701.
Test 2 Step 5
Now kill off the process for the Tomcat instance you are currently using, and refresh the page to confirm it has died.
Test 2 Step 6
Finally, change the URL to that from step Test 2 Step 3 and refresh the browser once more.

The session is still available, and the hit counter has advanced by one more to 4. The cluster member in the Tomcat process is using Hazelcast port 5702.
Test 2 Recap
When Hazelcast is handling the clustering, the web session is available from either process.
You can round-robin the requests across the available processes, or you can use the same one all the time.
If one process crashes, you can keep going use the survivors. The end user doesn’t need to be affected.
The Architecture Perspective
There’s not much code here and it’s quite a simple demo showing how an HTTP Session can survive when something fails.
However, there are two other significant architectural concepts that this approach unlocks.
Affinity & Load balancing
Without clustering, each session is only available on the web server on which it was created. All requests for each web session must be directed to the particular web server that hosts it.
This is typically done with session affinity, extra routing information appended to the session id string and intercepted by a routing layer. While not particularly difficult to do, it is an extra thing to get right.
More significant though is the effect on load balancing. The assumption is that all web servers end up with the same workload as all sessions invoke the same amount of processing and are active for the same length of time. However, this is not guaranteed.
Affinity isn’t needed so round-robin can be used instead to balance the traffic across the web tier.
Scaling
As sessions are available from any node, more nodes can be added and immediately participate in the workload.
More machines increases storage capacity for sessions, meaning more concurrent users.
Alternatively, more machines for the same number of sessions, means less sessions each increasing throughput.
The Coding
Now it’s time to review again the key piece of coding, to see what is doing what.
In fact, all this example does boils down to two parts, defining a Hazelcast instance and using it for web sessions.
Both are done in the HazelcastConfiguration class.
Defining a Hazelcast instance
For Spring Boot, the Hazelcast instance is just another Spring @Bean, but there are a number of approaches to create this.
Explicit creation
You could create the bean yourself, using code.
@Bean
    public HazelcastInstance hazelcastInstance() {
     return Hazelcast.newHazelcastInstance();
    }
Implicit creation
If you have Hazelcast jars and hazelcast.xml file, Spring Boot will assume you want a Hazelcast instance and build it from that config file.
Mixed
This is the approach taken here, just as a preference rather than for any compelling technical reason.
A Config @Bean is created. Spring Boot assumes that means you’ll want a Hazelcast instance, and uses that configuration @Bean as input to build it.
For the specifics of this example, what the config bean is doing is using TCP for member to member discovery, and dictating that the localhost address 127.0.0.1 should be used.
Using Hazelcast for web sessions
This is done with another Spring Bean, WebFilter. What this does is redirect matching web session CRUD activities to Hazelcast.
@Bean
    public WebFilter webFilter(HazelcastInstance hazelcastInstance) {

     Properties properties = new Properties();
     properties.put("instance-name", hazelcastInstance.getName());
     properties.put("sticky-session", "false");

     WebFilter webFilter = new WebFilter(properties);

     return webFilter;
    }
This is controlled by properties, but there are only two needed, though more exist.
The first is instance-name. This specifies which Hazelcast instance to use, the one just created. If one isn’t named, one will be created so we would have two Hazelcast instances in the same JVM, and that’s not what we want usually.
The second is sticky-session, a true/false flag for sticky sessions. Here we set it to false, so optimizations can’t be made that assume this Hazelcast instance (JVM) is the only one modifying the session. Because in Test 2 steps 2, 3 and 4 we swap back and forth between multiple JVMs.
Summary
Session clustering with Hazelcast is free, open-source and requires very little coding. The web filter bean in this code example has 5 lines.
Separation of session storage (Hazelcast) and session processing (Tomcat, etc) allows each to be scaled and managed independently.
Resilient sessions make for a better customer experience.