
Installing Ubuntu 13.10 on a MacBook Air 6.2
Hey there,
Today I will show you how to install Ubuntu 13.10 on a Macbook Air 6.2 (the 2013 edition).
Don’t be affraid the post seems longer than it will take time. I made a lot of screenshots since there are a few traps you need to be aware of!
Important to note I’m not responsible for any problem or damage this guide will cause on your Macbook. You are highly recommended to backup all of your data before moving on so that you can restore everything in the unlikely event of data lost or partition damage!
Another note to give upfront the installation: Ubuntu (at the actual moment) will not work installed in BIOS mode. The kernel will just hang after installation will activating the CPU cores. You can make it boot using nosmp kernel parameter but I’ll wanted it to be a clean install so lets use EFI mode.
So let’s start with downloading Ubuntu and while it is downloading we will prepare our Macbook Air 🙂
I use a separate Windows computer for preparing the USB stick but MacOS X and Linux are fine as well, just do the corresponding operations! Btw sorry for German screenshots but I guess you’ll find the approiciate buttons 🙂
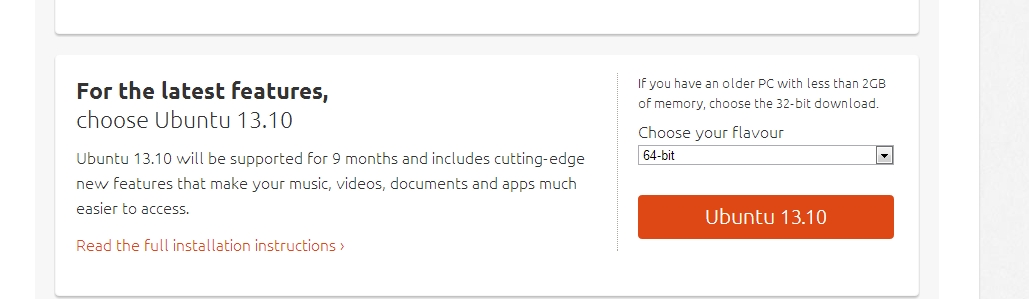
So go to www.ubuntu.com/download/desktop and download the desktop image. Important to note here is to download the 64bit edition since the 32bit edition will not boot in EFI mode (as far as I know – I have 8GB RAM so I even don’t care about 32bit).
While Ubuntu image is downloading move on with preparing the Macbook.
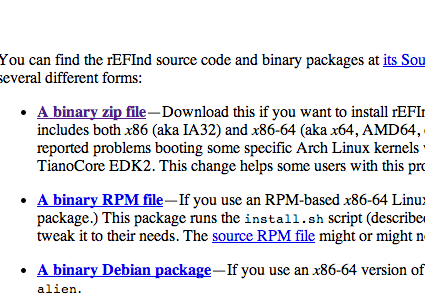
For Ubuntu to be selectable and able to start we need to install a bootmanager. Whereas over the last years rEFIt was the bootmanager of choice the development was stopped and the recommmended one now is the forked project rEFInd. We can download it from www.rodsbooks.com/refind/getting.html.
Please do not forget to donate if you like it 🙂
When the rEFInd download is finished double click the ZIP file to unpack it next to it.
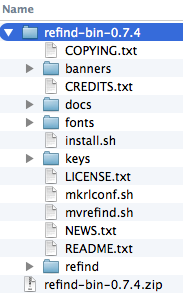
Now open a terminal window and change directory to your new rEFInd dir using:
cd Downloads/refind-bin-0.7.4
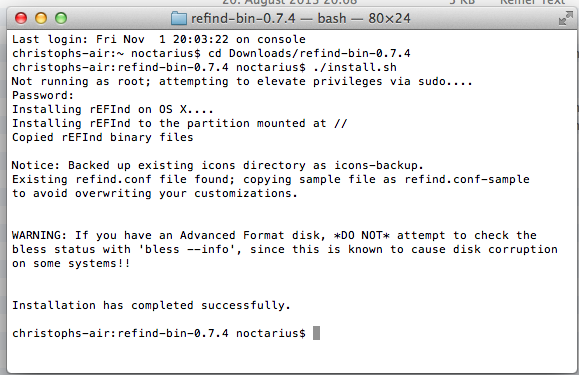
To finally install refind to your partition enter:
./install.sh
You will be asked for your password to allow the installer to install itself to the EFI boot partition, enter it and wait for the installer to complete. If everything is fine you should see an output nearly similar to the following, ending with the message that it was successfully installed:
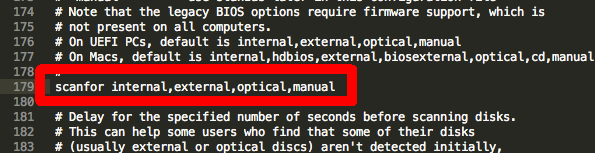
After installtion of rEFInd we should make sure that it will find our USB stick as an available boot option for EFI. To do that open up /EFI/refind/refind.conf using a texteditor (I prefer Sublime Text) and search for the line starting with “scanfor” and change it to the following as shown in the screenshot and save the file:
scanfor internal,external,optical,manual
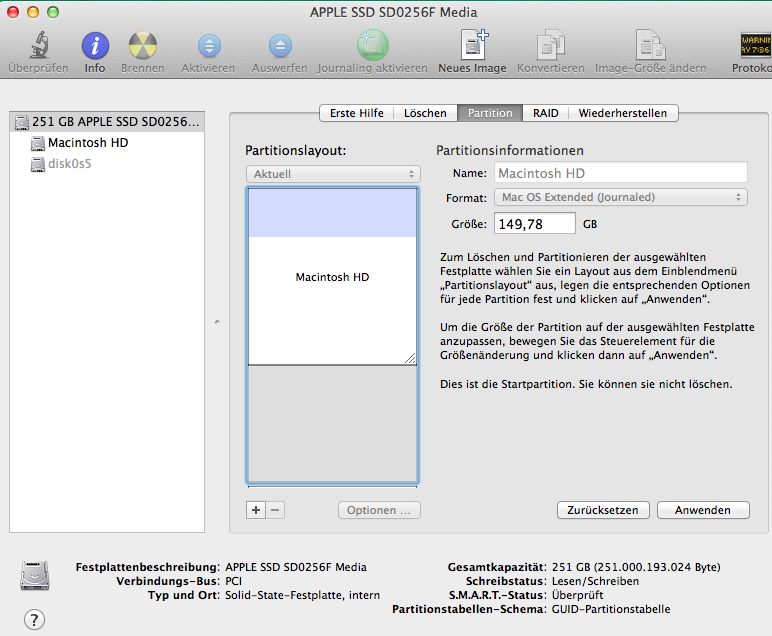
Next step is to prepare our harddisk to have some space for Ubuntu. Therefor I prefer to use the Disk Utility. You can find it in Applications/Utilities. Open it up and resize your Macintosh HD partition to a size you like. Since I have a 250GB SSD I’ll make the Mac partition 150GB, giving me 100GB free space for Ubuntu. To write the information to disk and let the Disk Utitlity resize your partition just hit Apply.
Ok back to our Ubuntu download which hopefully is now ready while we’re waiting for the Disk Utility to finish the resizing.
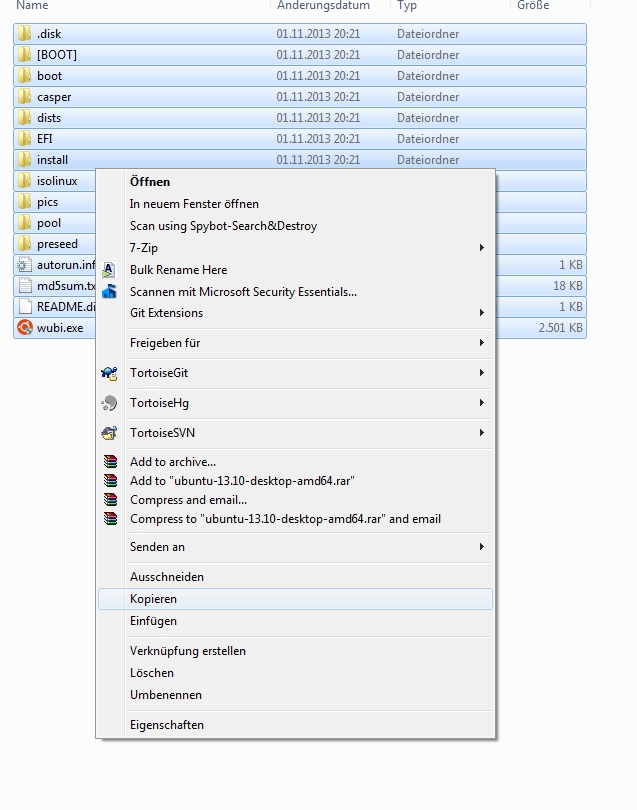
We now need to unpack the Ubuntu ISO file while I prefer to use 7zip (7-www.zip.org) you can use any program able to unpack ISO files.
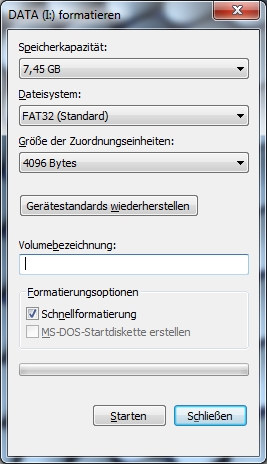
Now we prepare our USB stick to be able to boot from the rEFInd bootmanager. Therefor we format it using FAT32. My USB stick has 8GB capacity but every USB stick with at least 1GB should be fine.
Next we need to get the extracted files to our USB stick which is nothing more than copy&paste. Every programmer is capable of that 😉
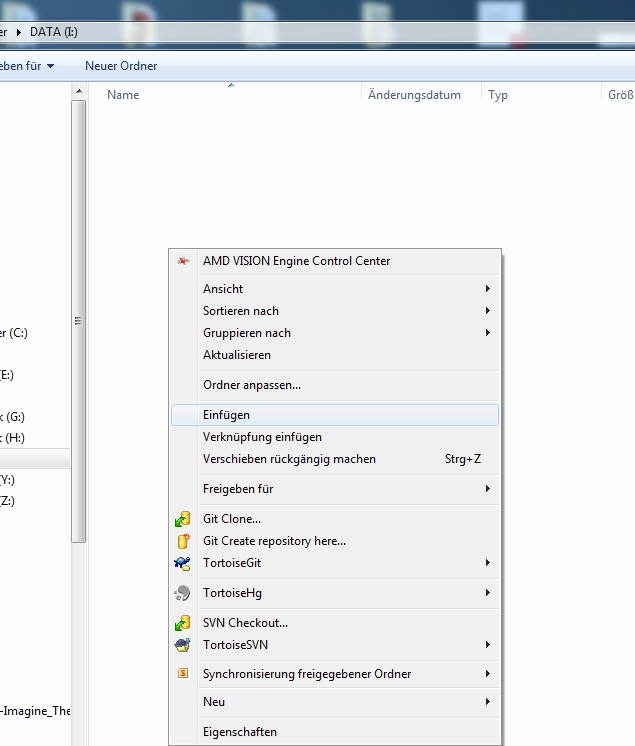
The copy operation can take some time as we all know so let’s wait a few moments and maybe get a new Coke 🙂

When copying all files is done, the last thing we need to change for Ubuntu to start from the USB stick is to change a little bit in the GRUB configuration file (so the Linux bootloader).
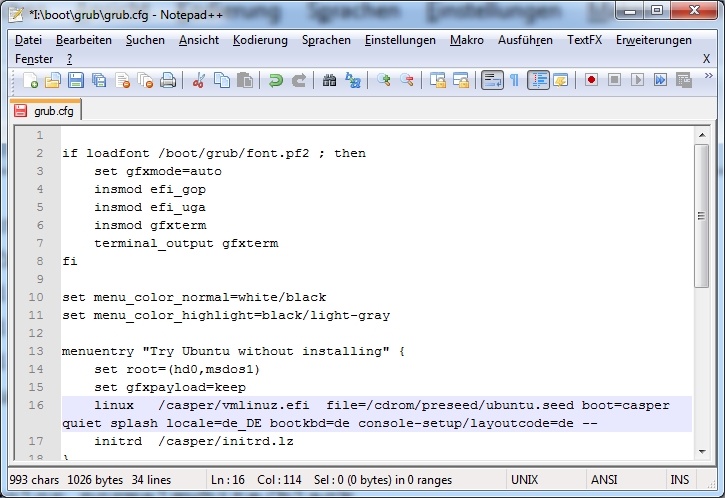
Open the boot/grub/grub.cfg file on the USB stick using your favorit texteditor (e.g. Notepad++) and change the following lines to look like this as seen in the screenshot:
menuentry "Try Ubuntu without installing" {
    set root=(hd0,msdos1)
    set gfxpayload=keep
    linux  /casper/vmlinuz.efi file=/cdrom/preseed/ubuntu.seed boot=casper quiet splash locale=de_DE bootkbd=de console-setup/layoutcode=de --
    initrd /casper/initrd.lz
}
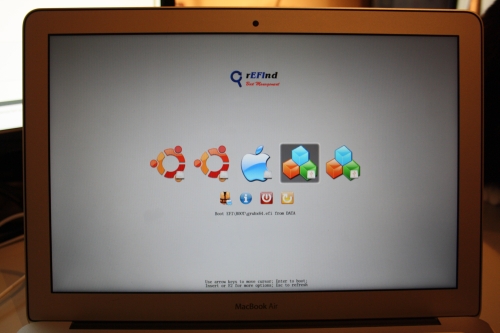
Store the changes and safely remove the USB stick from your computer. Put it into the Macbook Air and it’s time to restart it 🙂
When ariving at the new menu at the Bootmanager select EFI/boot/grubx64.efi and press Enter (ignore the first two options from the screenshot as it is not yet existing for your installation :-)).
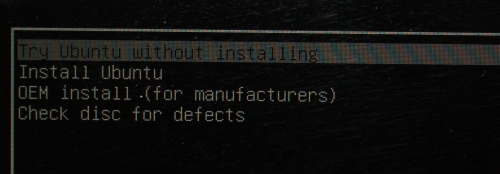
If not yet selected just select Try Ubuntu without installing and press Enter. Ubuntu will start as normal but is already running in EFI mode.
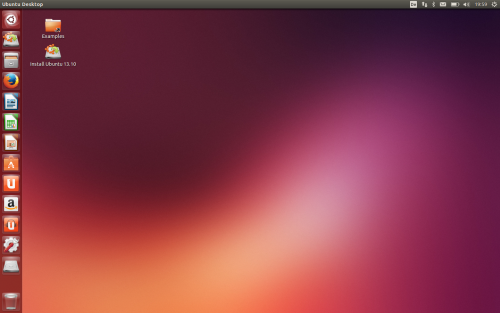
We see Ubuntu to successfully startup and showing a desktop just as expected.
Sometimes (it seems that the last firmware update broke it) the installer is not able to find the wireless lan card yet (this does not happen after installation) so just plug in the wired lan adapter and reboot the installer.
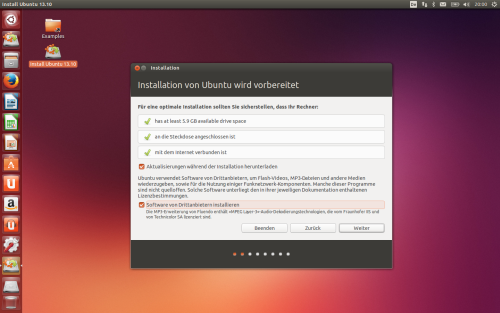
If a network connection exists you are ready to install Ubuntu by double clicking the Install Ubuntu icon. The installer will show up.
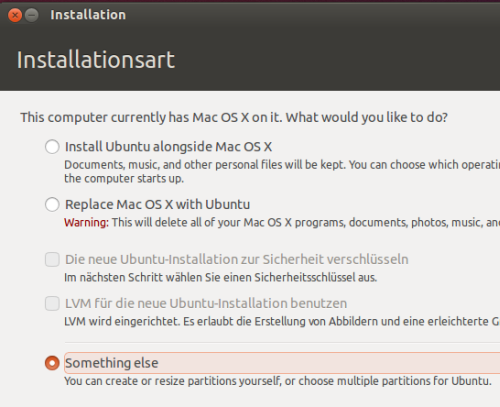
When the installer asks you on how to install Ubuntu be aware to choose Something else.
You are now able to add partitions for Ubuntu on the free space that you previously created using the Disk Utility from MacOS X. I prefer to use logical partitions but you’ll free to add them as primary.
First create a ext4 formatted partition on by selecting the free space at the end of the disk and clicking the + button and select as the mountpoint / (the root directory). Since I have 100GB of free space I make my root partition 98GB, having 2GB for SWAP.
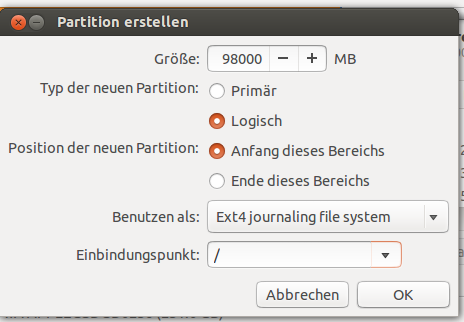
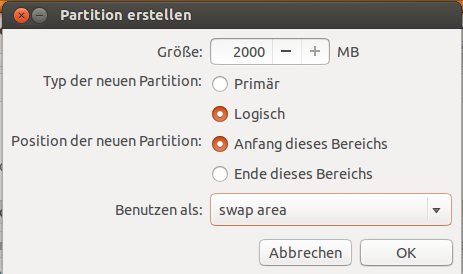
Create the new partition using a click on OK and create another partition by selecting the free space at the end ab clicking +. This time select Use as: swap area and click OK.
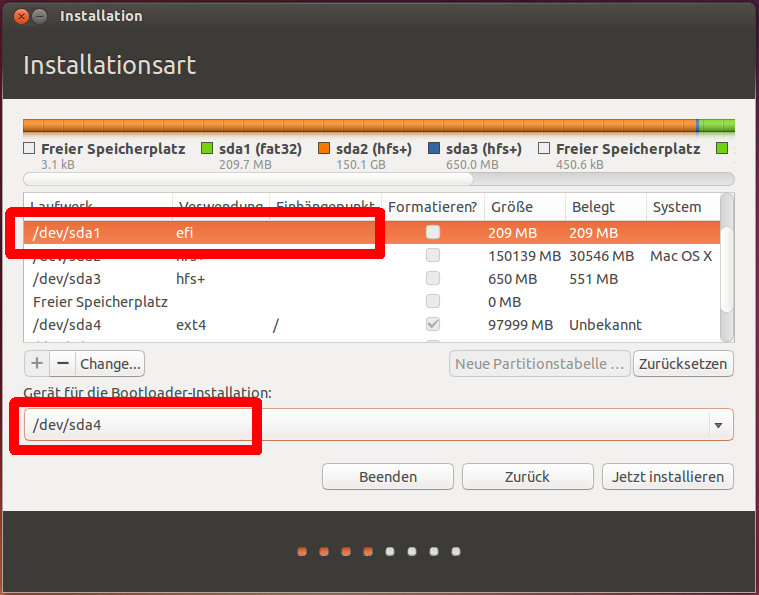
Before we proceed with the Installer be sure to set the installation point for the bootloader to your Ubuntu root partition and that the first partition is recognized as efi as shown in the screenshot.
Now the hard part is done and you can proceed with the installation as normal. Depending on your selection in the first dialog the installer may download additional dependencies or language packs.
After the installation is finished the installer wants to restart your computer. This may fail but this isn’t a problem at all – in this case just force a reboot by holding the Power key for a few seconds.
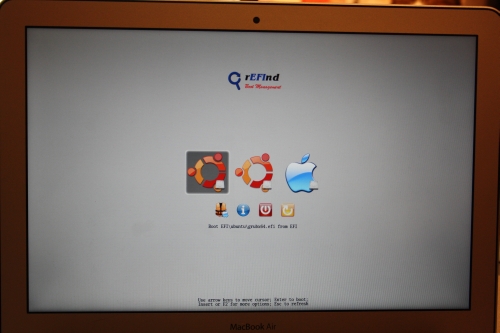
Eventually you should see the Ubuntu selection in the rEFInd bootmanager as seen below and you are able to start Ubuntu.
If everything is fine:
CONGRATULATIONS
You’d successfully installed Ubuntu on your Macbook Air 🙂
Update 2014-03-06:
https://help.ubuntu.com/community/MacBookAir6-2/Saucy